Seiko SLP 650 DT printer
1. Install labels into printer
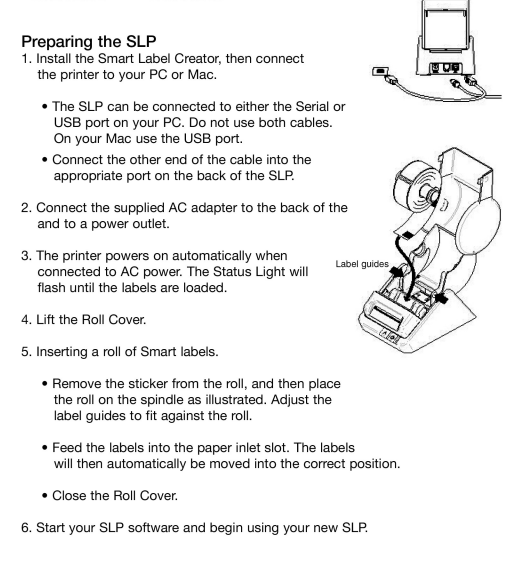
- Unpack printer and plug into power.
- Load labels into the printer. They go face down.
- Press ^ on printer to feed a single label.
- Note: if you cannot reliably feed a single label, eVisitor will probably not be able to print.
2. Configure Windows
- Plug the USB cord into the computer and load the driver. As of Jan 2022, the driver is ver 7.1.1.
- Set paper size: Printing preferences, Advanced, Page Size: "SLP-SRL Shipping (2.13x4.00)"
- or "SLP-NR-NB Badge (2.13x2.75) for 3" badges.
- Print Quality = Barcode and Graphics or Fine Mode.
- Print a test page.
- Note: If you can't reliably print a Windows test page, eVisitor will probably not be able to print.
3. Configure eVisitor
- Login to eVisitor.
- Goto settings, devices, label printer and point to the "Smart Label Printer 650".
- Set Badge Print Res to "300".
- Select "Force Pre-processing".
- Test by printing several badges.
If you are NOT using eVisitor
- We recomend setting Halftoning to SuperCell to improve the photo quality.
- Adjust Print Density as desired.
Copyright 2020 Data Management, Inc. All rights reserved.
1.800.243.1969